

Your First Step
Registration
To use the PULSENSE, register an account with Epson sensing services. Launch the application, select the Register button and follow the on-screen instructions.
-
Registration
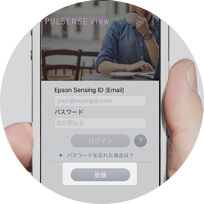
Click the Create an account button on the Login screen of the PULSENSE View App.
-
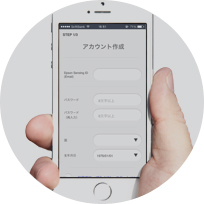
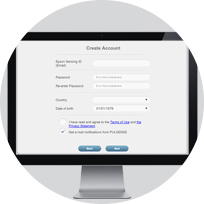
Create an account
Create the PULSENSE account.
-
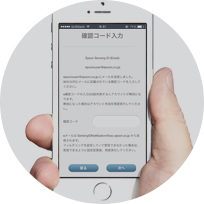
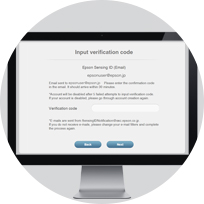
Enter confirmation code
Open the email delivered to the email address that you entered.
Enter the confirmation code stated in the email.
Access the code and complete your registration within 30 minutes after the email is delivered.
-
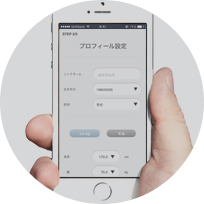
Profile Settings
Enter your profile on the Profile screen.
-
Smartphone connection
Entry is finished. Next, connect to your smartphone.
To Smartphone Connection→
Connection
The process to connect a smartphone and PULSENSE via a Bluetooth connection is known as pairing.
Bluetooth must be ON for this setting.
-
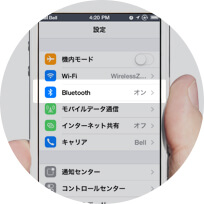
Confirming Bluetooth status
Please confirm that Bluetooth is turned on in the settings menu of your smartphone.
-
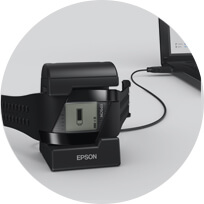
Charge your PULSENSE
Connect your PULSENSE to the cradle and remove it when the battery has charged to at least two segments.
(full charge is recommended) -
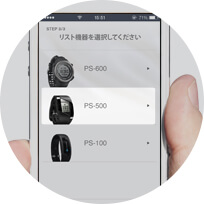
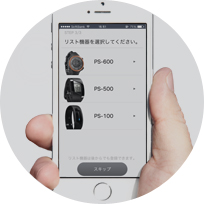
Selection of devices
Select the device to be connected to the smartphone.
-
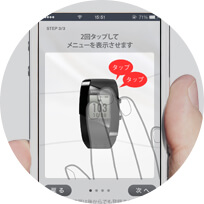
Go to the pairing mode
Tap twice the screen of PS-500, then menu screen is displayed.
-
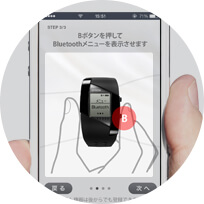
Go to the pairing mode
Press the B button once to display the Bluetooth configuration screen.
-
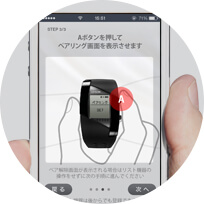
Go to the pairing mode
Press the A button once to enable Device Pairing.
-

Confirm the device number
Please verify the 3-digit number shown on the PULSENSE display.
Please select the same number displayed on the pairing screen of your smartphone, and then press "Register" to establish a pairing.
If pairing is unsuccessful→ -

Heart rate detection check
Wear PULSENSE.
To heart rate detection check →
HR detection check
Wear the PULSENSE on your wrist.
-

Wear your PULSENSE
Wear PULSENSE on your non-dominant wrist, placed above the ulna bone.
Correct method→ -

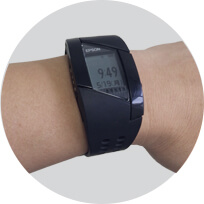
Start heart rate detection
Start monitoring your heart rate by pressing the A button.
Once your heart rate is detected, it is displayed on the screen.
If the heart rate cannot be detected→ -
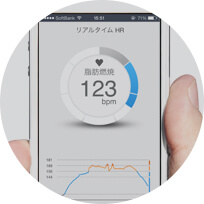
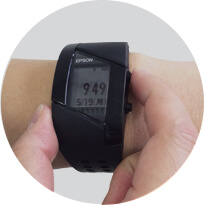
Ensure that the real-time meter shows your heart rate
If your heart rate is detected correctly, the real-time meter your current heart rate.
The heart rate information is updated every four seconds.
If the heart rate is not displayed on the screen→
Initial Configuration
In order to connect the device to your PC and upload your data to PULSENSE View, you must first complete the following two steps.
1. Create an account (set up profile)
2. Register your device *
Once registration is complete , the date and time of your PC and device (PS-500) will be synchronized.
*To register your device, you need to place your device (PS-500) on the cradle and connect it to your PC.
Please make this connection when the PC connection information screen is displayed during this process.
-

Install PS Uploader
Firstly, download and install the PS Uploader (software) onto your PC.
Install PS Uploader→ -
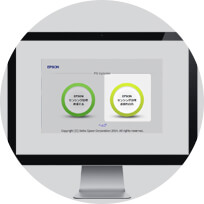
Create Account
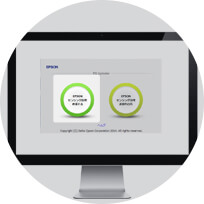
Click on "Create an Epson Sensing ID".
Create Account→
The menu is not displayed→ -
Create Account
You can create an Epson Sensing ID through PULSENSE View.Launch PULSENSE View.
-
Enter confirmation code
Open the email delivered to the email address that you entered.
Enter the confirmation code stated in the email.
Access the code and complete your registration within 30 minutes after the email is delivered.
-
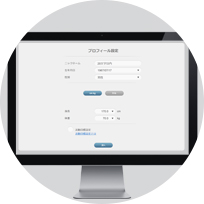
Profile registration
Fill out your profile to finish account creation.
Push the next button to proceed to device registration.
To device registration→
Connecting your device
The term "Activation" refers to the process of configuring a connection between your PC and PULSENSE. To perform this configuration, you must place PULSENSE on the cradle and connect it to your PC.
*Follow the instructions below to connect your PC and PULSENSE (device).
-
Open the menu
Open the menu and click For those who have an Epson Sensing ID.
If the menu does not show up→ -
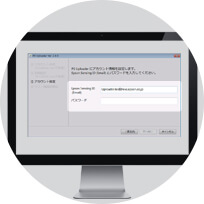
Login
Enter your registered ID and password to login.
-
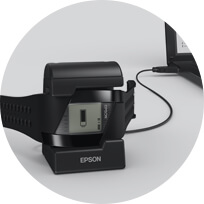
Connecting PULSENSE to the charging cradle
The message Connect the device to the cradle, will be displayed, so follow the instructions displayed onscreen.
-
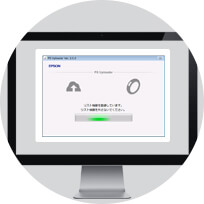
Registering your PULSENSE
Please do not remove the wrist device until registration is complete.
-
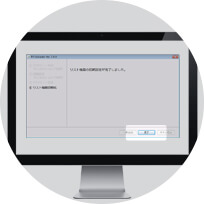
Device registration complete
Device registration is complete when this window is displayed and your browser starts up.
HR detection check
Wear the PULSENSE on your wrist.
-
Wear your PULSENSE
Wear the PULSENSE on with the detection sensor attached close to the skin.
Correct method→ -
Start heart rate detection
Start monitoring your heart rate by pressing the A button.
Once your heart rate is detected, it is displayed on the screen.
When the heart rate cannot be detected→
Data upload
The data is uploaded to PULSENSE View web via the PS Uploader app installed on your PC.
-

Connect PULSENSE to the cradle
Connecting to the charging cradle.
-
Start the PS Uploader App
Once the PC Uploader app is running, it will automatically upload your data the the PULSENSE View web app.
-
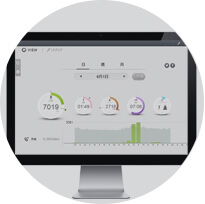
View your data
After your data upload is completed, your browser will automatically open the PULSENSE View web app.
In case HR figure is not indicated on the screen→